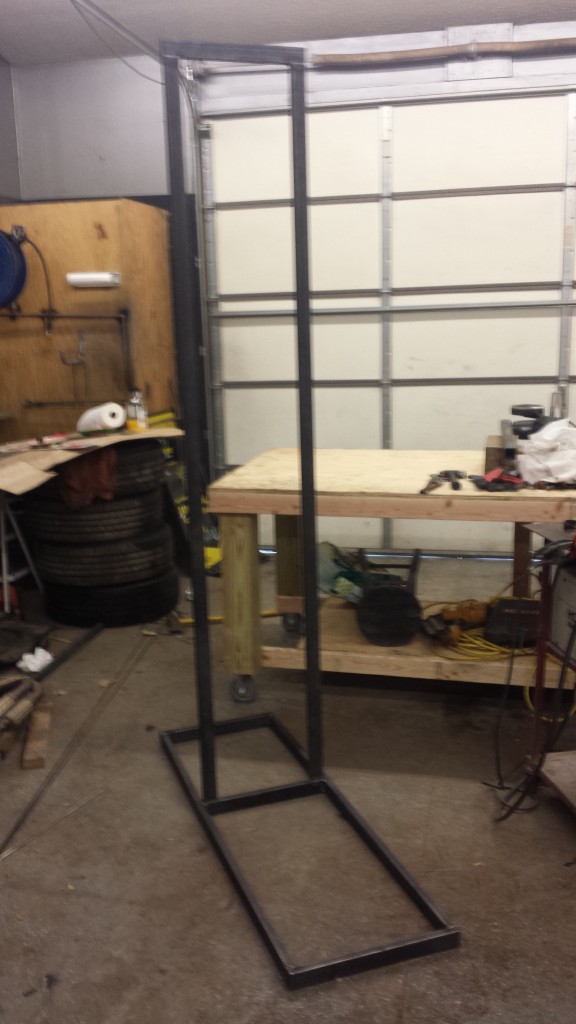
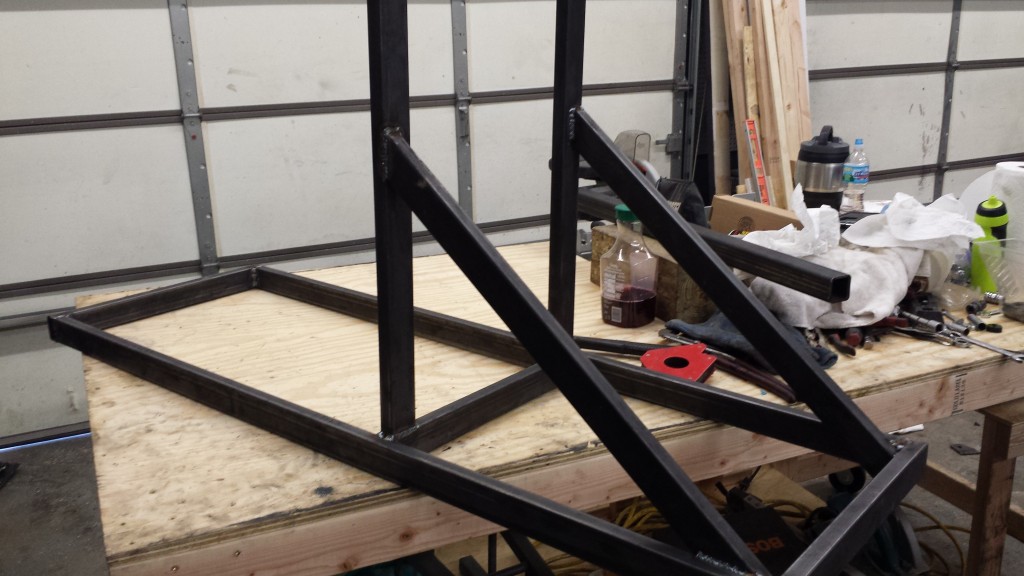
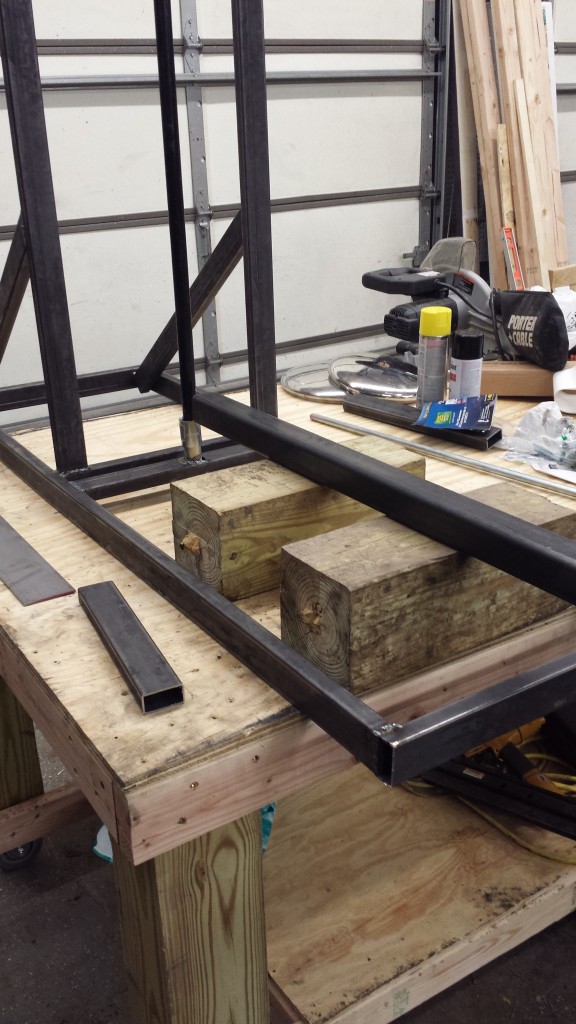
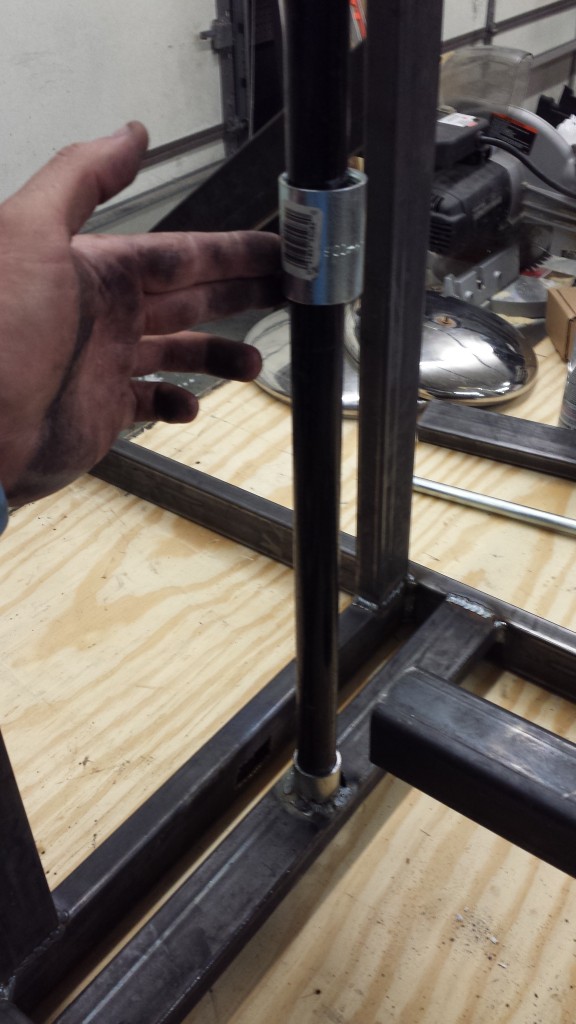
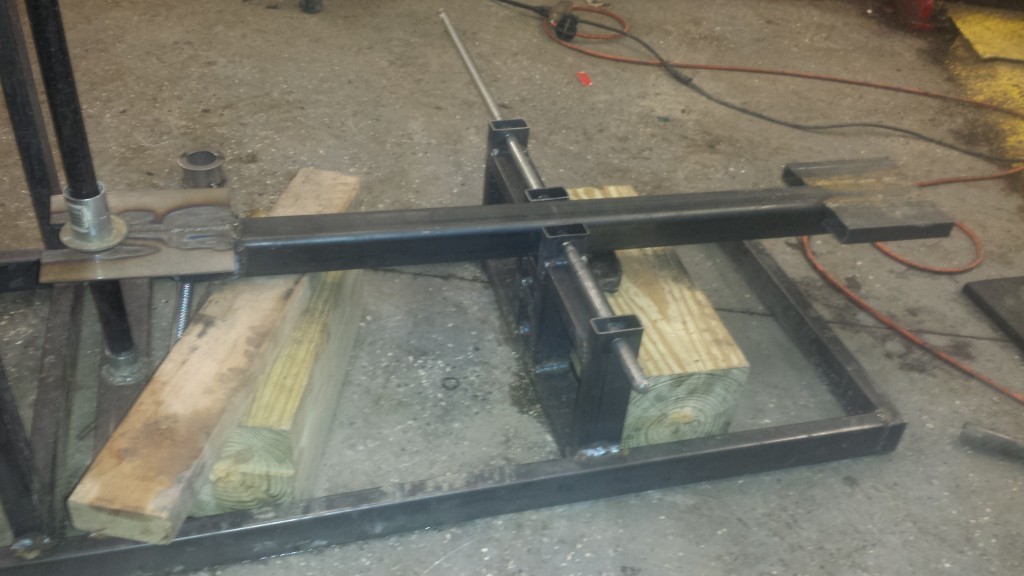
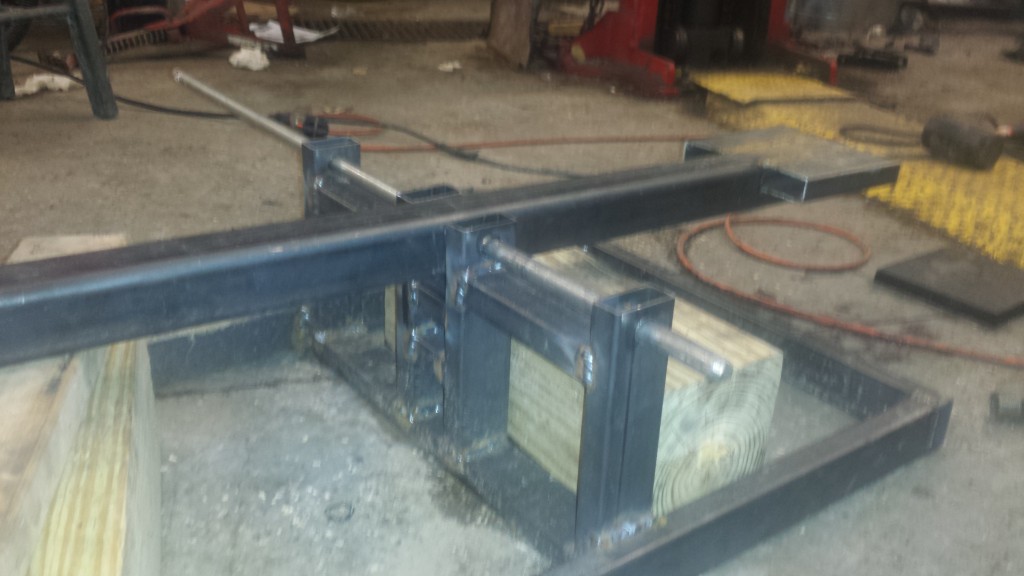
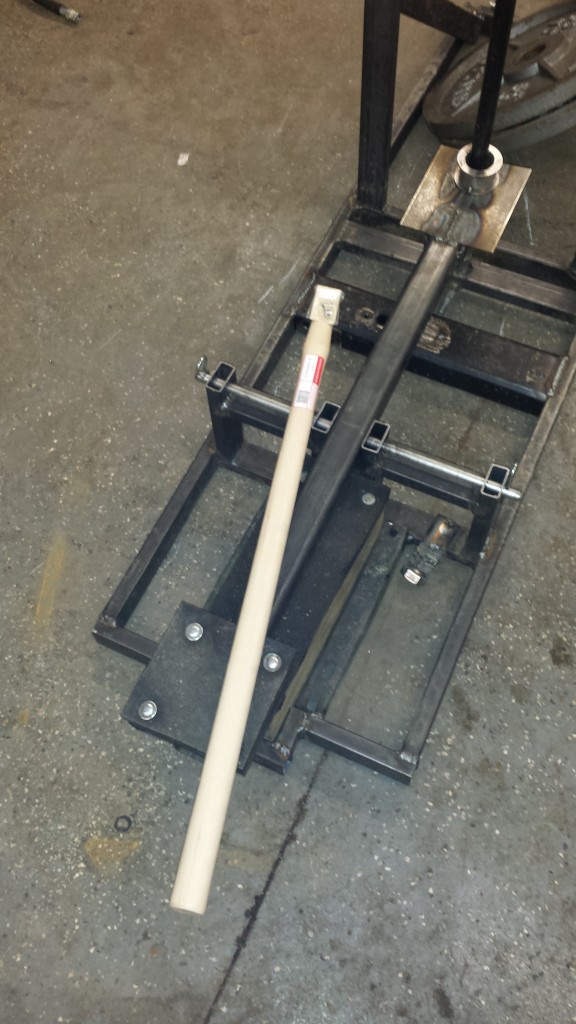
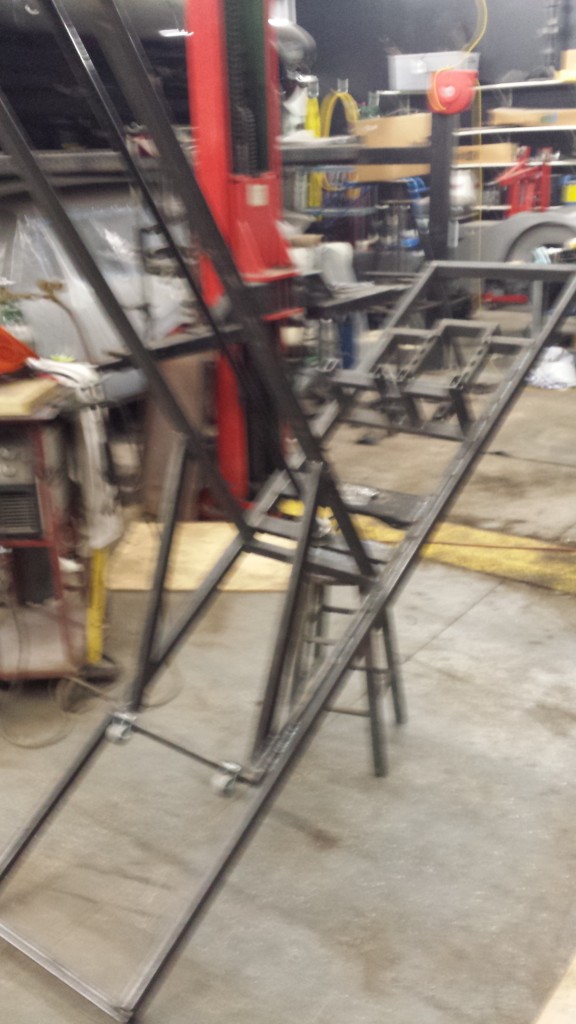
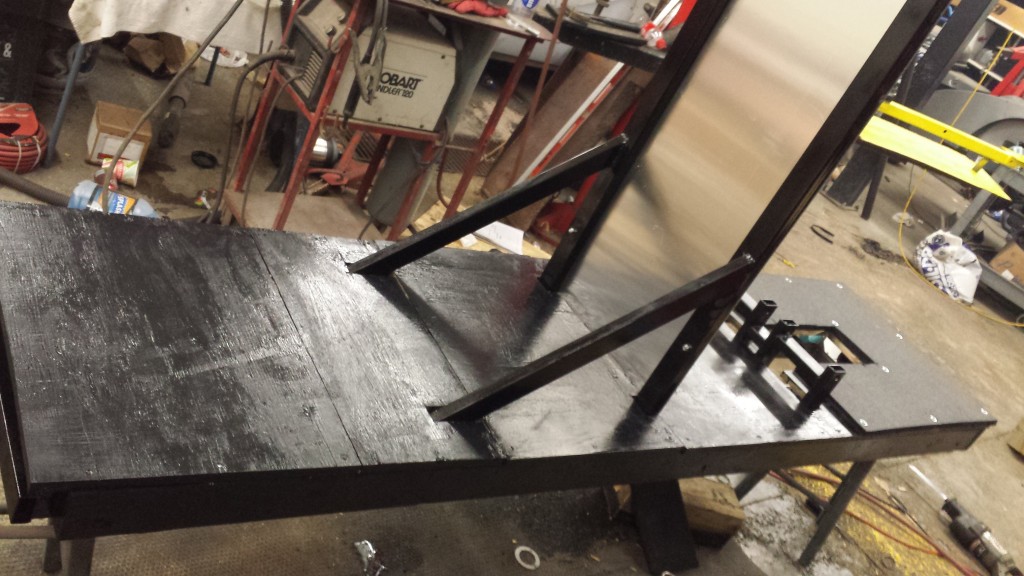
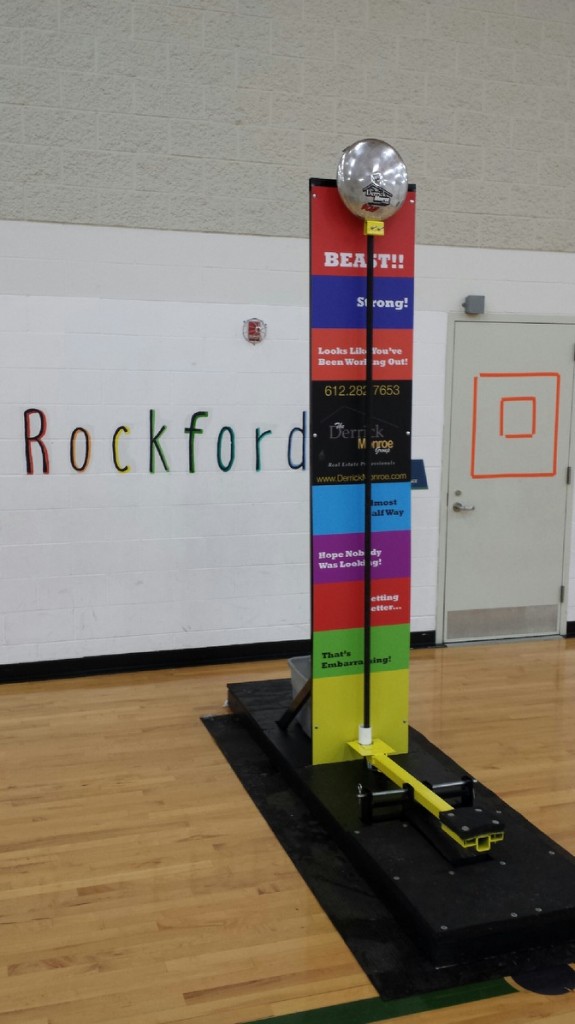
I wanted to build a strongman game for a local carnival and as you probably already found out there aren’t any real good highstriker blueprints to do so online. I started out thinking I 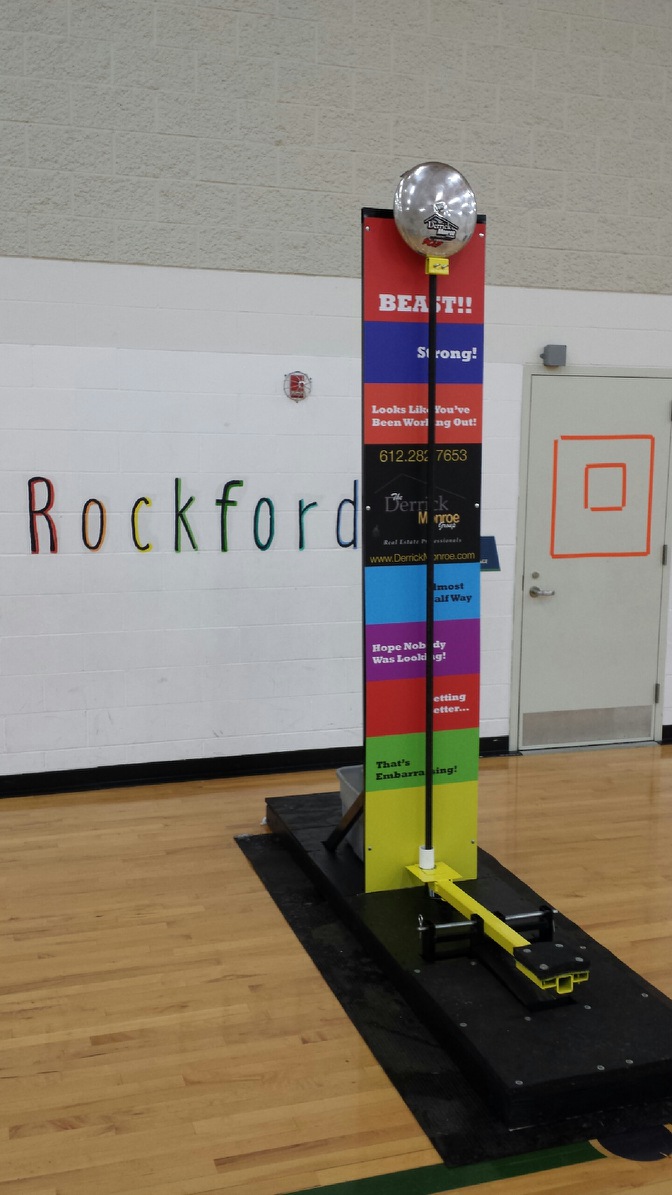 would make my highstriker game out of wood and just use it a few times and not worry about it but then I thought if I’m going to take the time to build it lets build it to last (see pictures below as it was being built). Here is the strongman material list I ended up with:
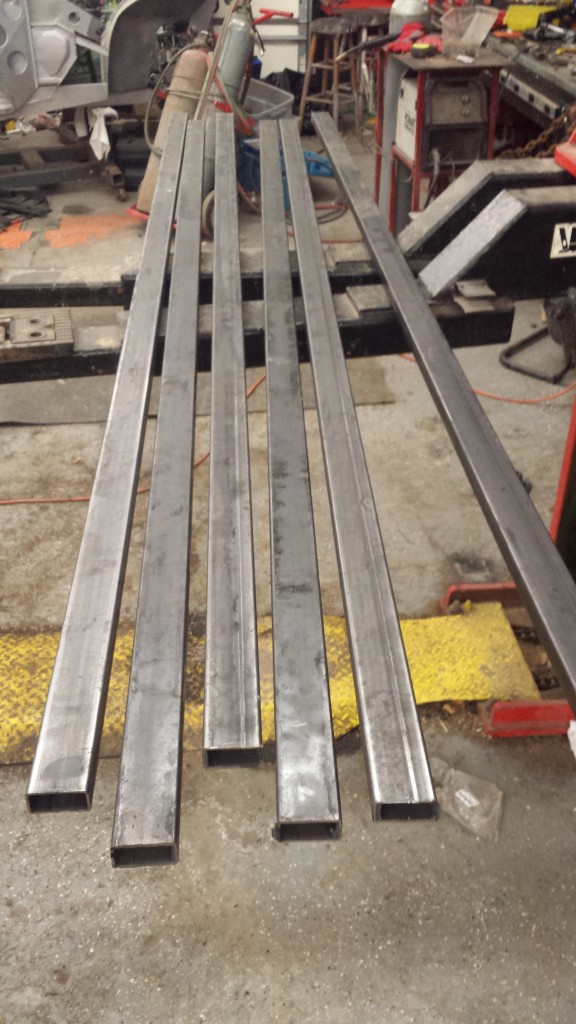
- 3 sticks of 1×2 steel square tube 24 feet long each (I cut them in 8ft sections to haul home in my truck easier)
- 3 2×4’s 8ft
- 1 4×8 sheet of 3/4 plywood
- Box of wood screws 1 1/2 inch
- A sheet of 1/2 rubber mat I got at Tractor Supply – for horse stalls I think
- Dozen carriage bolts
- Scrap section of 2×2 square tube steel I found at a local fabrication shop for swing arm
- 2 cotter pull pins
- One 24 inch steel 1/2 rod for pivot
- One 18 inch by 95 inch tall backboard/sign I had made at a local sign company
- 3/4 steel water pipe from Menards for the slider
- An old pot lid for the bell
- Misc hardware as needed
- Axe handle from the local hardware store
- Wood glue
- Scrap pieces of 6×6 green treated lumber I had lying around
- 1 quart satin black paint
- 1 can black spray paint
- 1 can yellow spray paint
- Spring
All said and done I had roughly $275.00 into the strongman game project plus my time.
How I built the strongman game also known as a highstriker game was simply by trial and error and a plan in my head. Now that I’m done there are some things I would do different next time when building a highstriker carnival game which I will list at the end of this blog.
The metal fabrication work on my highstriker game measures as follows:
- Base = 18inches wide x 8 ft long
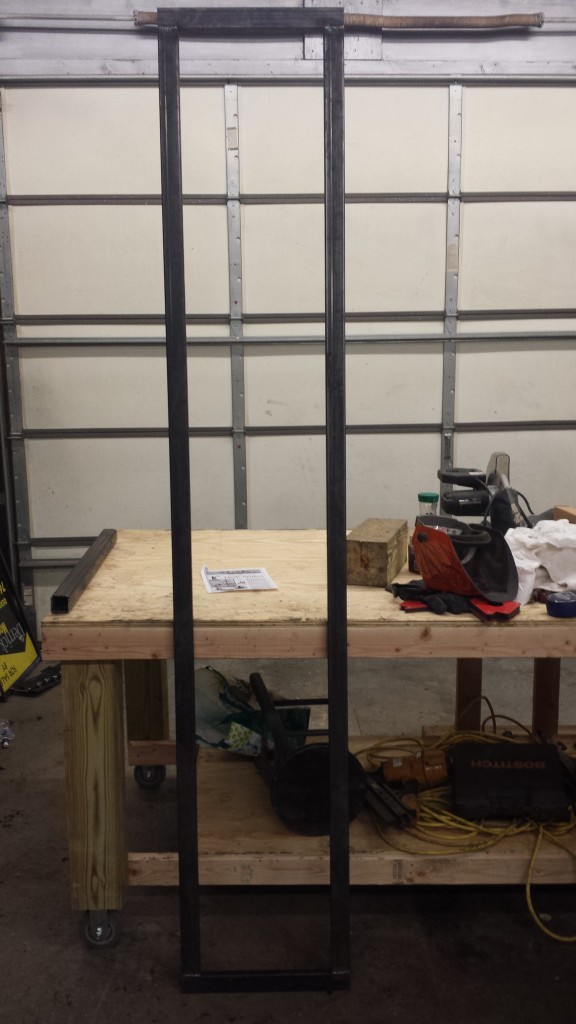
- Backboard = 18 inches wide x 8ft tall
I then framed the entire metal framework in wood just for appearance really.
How I built my strongman carnival game…
Again, I made mine from steel and welded the entire thing together but the same principle would apply if you used wood and screwed/bolted it together.
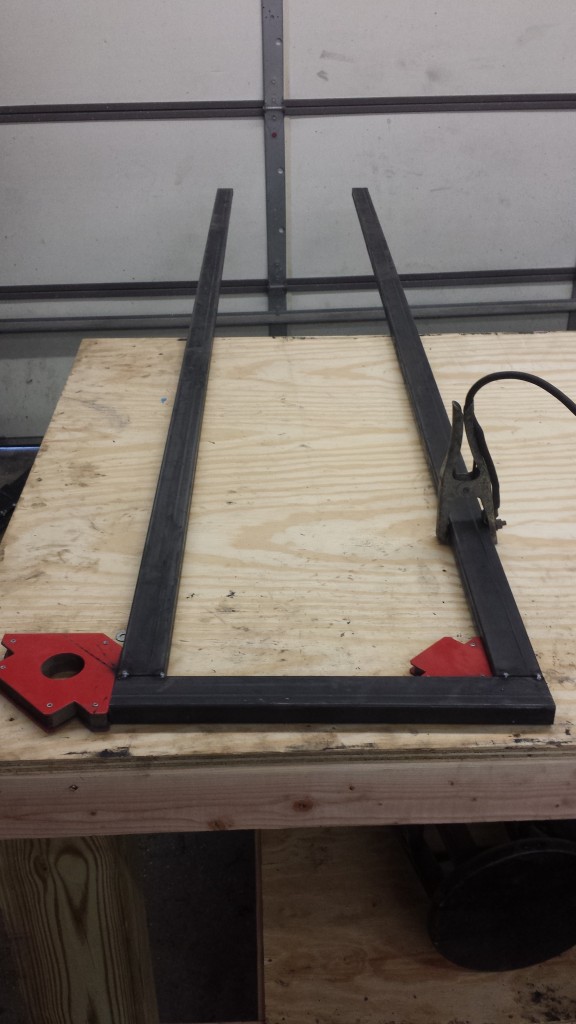
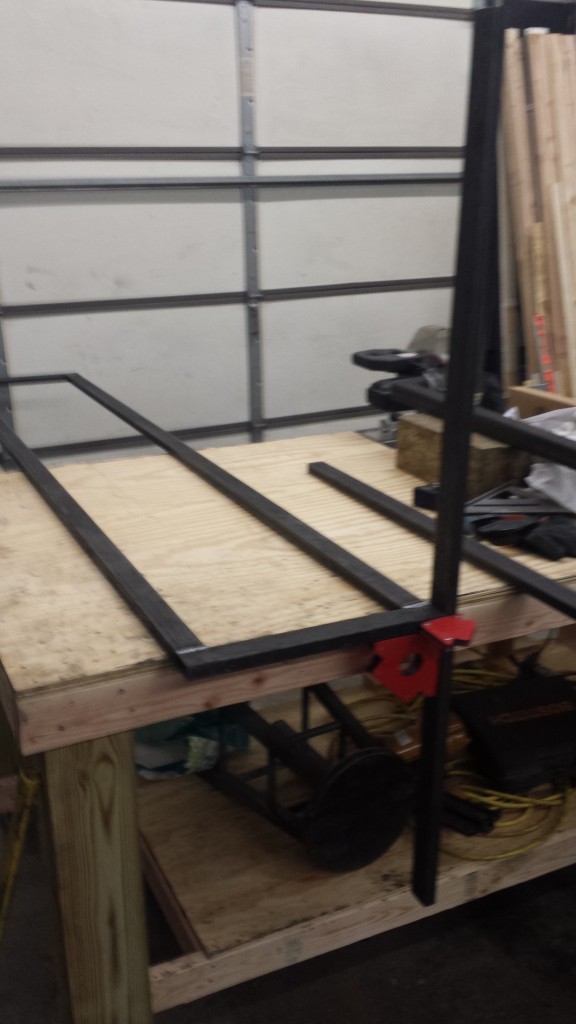
For the base where I started I laid out metal I cut to create an 18 inch wide base by 8 feet long and welded it all together. I then stood up 2 8ft pieces and a top section to create the backboard frame work and welded it all together. After the backboard was welded to the base I cut 2 pieces at a 45 degree angle for the support and welded it from the backboard to the base on the back side.
Once I had the main base and backboard up (the backboard was welded in center by the way) I took the swing arm I had and found center & drilled a hole for the rod I bought to slide through. To house the swing arm I cut 4 pieces of my 1×2 steel approx 1 ft tall and also a cross piece for the base 16 inches long to slide into the 18 inch wide frame. I welded in the cross section, then stood the 12 inch sections upright and welded in to support the swing arm then added the bracing you see in the pictures. I left enough room to give the arm about a 7 to 8 inch swing and made sure the pieces I welded in had enough room to drill a hole through all of them at the top to insert the rod as shown in pictures, then I drilled a hole in each end of the rod and inserted a clip to hold it.
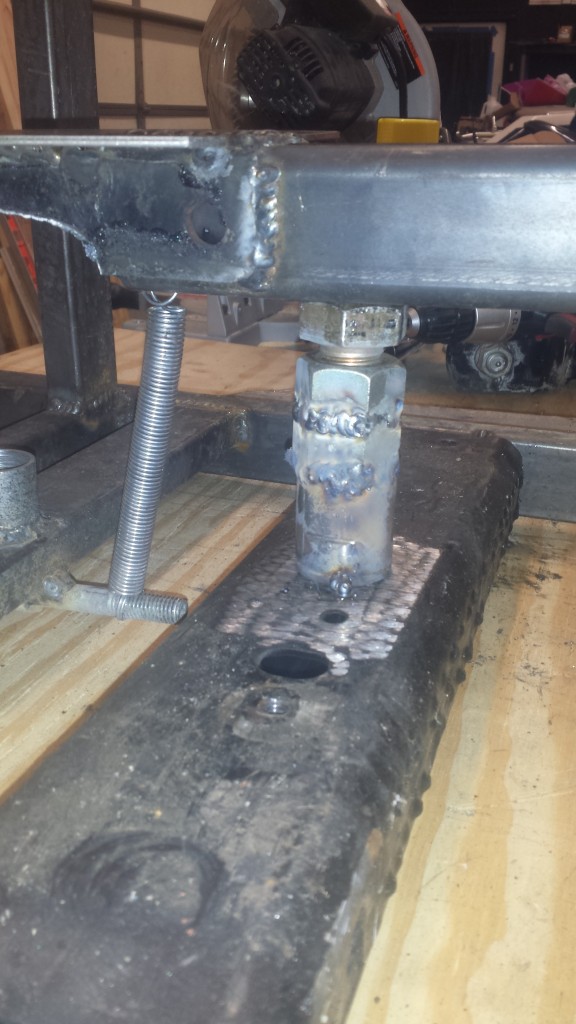
I welded a box up inside the frame to hold a piece of 6×6 I had laying around for the stop on the hammer side. As far as adjustment here is what I did… On the side where it pushes the piece up and down to the bell I installed a 2 1/2 inch long 1 inch bolt that spins into 2 nuts and a sleeve (see close up pics below). However you do it you need to be able to easily adjust the side where the slide is to go up and down which will in turn move the hammer side up and down to have either less or more travel. What i found out is there really doesn’t need to be much travel adjustment to make it easier or harder. Another thing that greatly affects how hard it is will be the weight of the object you are using to travel up and down your slide as well as the weight of the hammer your using – here is what I used and it seems to have the right formula:
- The piece that slides up and down to hit the bell = 3 inch tall, 1.5 inch inside diameter PVC pipe fitting (super light)
- Hammer handle is an AXE handle bought at any hardware store, the business end is a green treated 6×5 piece of wood glued onto handle nice and tight
I didn’t keep great notes or draw any specific blueprints for the strongman game but I hope between the description and the pictures below it helps you out a bit.
Strongman game pictures of the beginning to final completion.
FINISHED STRONGMAN GAME…
Have you ever built a strongman game? How did yours turn out? Put your comments below…

